How to create a mood board

If you’d like to learn how to create a digital mood board – check out my online course here.
I’m a huge fan of a mood board – it’s an essential part of the design process and a way to really dig into your creativity, your authentic sense of style and personal colour palette. It’s like doing all the detective work before you start picking up that paint chart or flexing the credit card. It can not only save you time and money, but help you keep on track through out the design and implementation process – ensuring your final look is not only cohesive, but creates the mood and impact you desired from the get go.
If you’re looking at an empty room with no idea where to start, a mood board can help you focus, giving you a vision for how to proceed and help you edit all the ideas you may have down to something tangible and workable. Lets be honest, in todays media age we can often feel overwhelmed by all the available inspiration. But the process of designing a room doesn’t need to feel overwhelming, and I’d urge you to consider that at this stage you don’t need to fret about the exact products, the budget, the builders or the floor plan. At the start of any project it’s about creating a concept that resonates for you, that incapsulates the mood, feeling, style and purpose of the room. I recommend thinking about how you want the room to make you feel, and consider what you will be doing in there. Whether you want it light or dark, bright or muted, or whether you want traditional or edgy etc will all be discovered once you start the mood boarding process.
You can look for inspiration everywhere. Online is the obvious place to start but also build up an image album of inspiration that you snap on your phone.
You don’t need to restrict yourself to interiors images either, you can use images from fashion, architecture, nature, art – whatever you feel drawn to that creates that ‘feeling’ for you. This helps you explore the style, design motifs and colour combinations that you love. For instance if your wardrobe is bright and colourful (chez moi!), chances are having your home in a similar style will make your heart sing too. If you are more comfortable in an understated classic style, your home decor will likely follow suit and you will be attracted to a more muted colour palette.
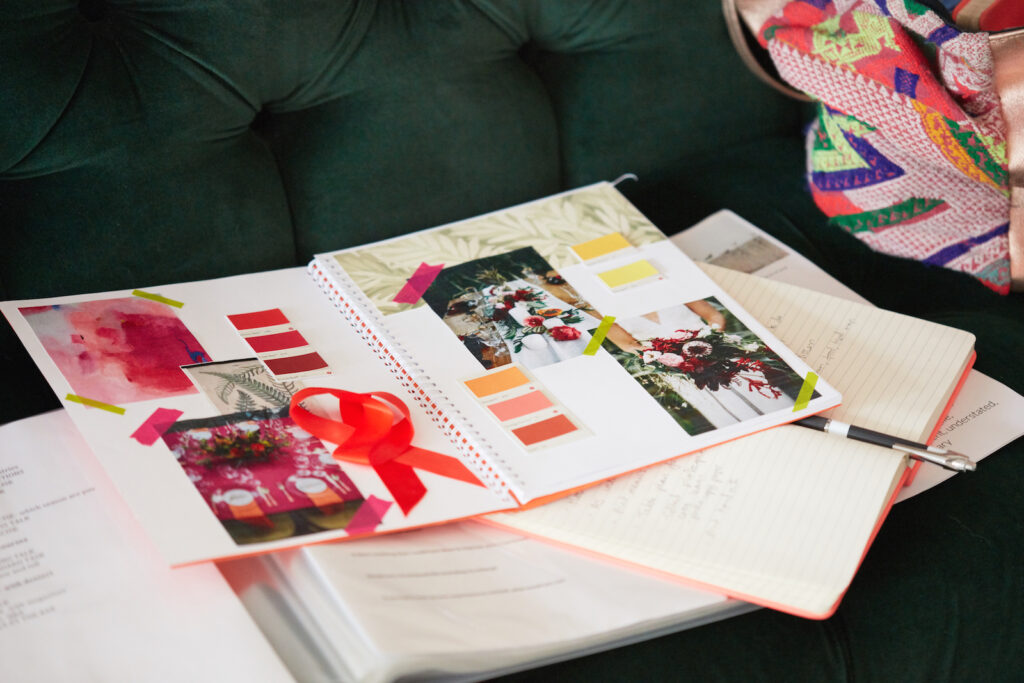
I keep an A3 ring bound sketch book close to hand to work up mood boards for my room schemes, events, parties- anything visual
I love to use a large A3 sheet of card, but you can use a A4 sketchbook or side of a cardboard box too, whatever you have to hand. I also don’t restrict myself to images, but use other elements to give the board texture and a 3d dimension, really helping the whole look to come to life. Here are some of the things you could include:
- Images from magazines, newspapers or catalogues
- Images from online. Pinterest and Google images are my go-to
- Photographs from your travels/holidays – or things you’ve seen out and about that you love
- Fabric swatches
- Wallpaper samples
- Paint card chips
- Your own paint chips made from tester pots
- Ribbons or trims
- Washi Tape
- Pressed leaves, feathers, sticks or foliage
- Tiles
- Floor Samples
- Materials and textures like wood, rattan, metal, mirror etc (Be creative! You could use an old thread bobbin or wooden peg to represent wooden furniture you will have in the room or a brass curtain ring to represent the hard wear or metals you want to use.)

I love to used some multi media for my mood boards which really helps to bring them to life. Washi tape, faethers, leaves, ribbons or flowers are all good elements to consider including
For the creative process to really work you need to feel loose and fluid so don’t restrict yourself by sticking anything down yet. Collect a series of images and materials and then you need to edit them down to the few that really nail the look or colour palette you are after. It’s as much about what you leave out as to what you include. Move the elements around, play with different combinations, come back to it after a day or so with fresh eyes. If you want to you can use washi tape, glue dots or adhesive foam pads to fix things on to your board once you are happy with everything. I can’t stress enough that there’s no need to rush this stage as it’s so worth getting right! It’s all in the curation of your images and materials, until you get the feeling that it’s just right!

Put off sticking everything down to the last minute and remeber the art of a good mood board is as much as taking elements away as it is adding them to the mix.
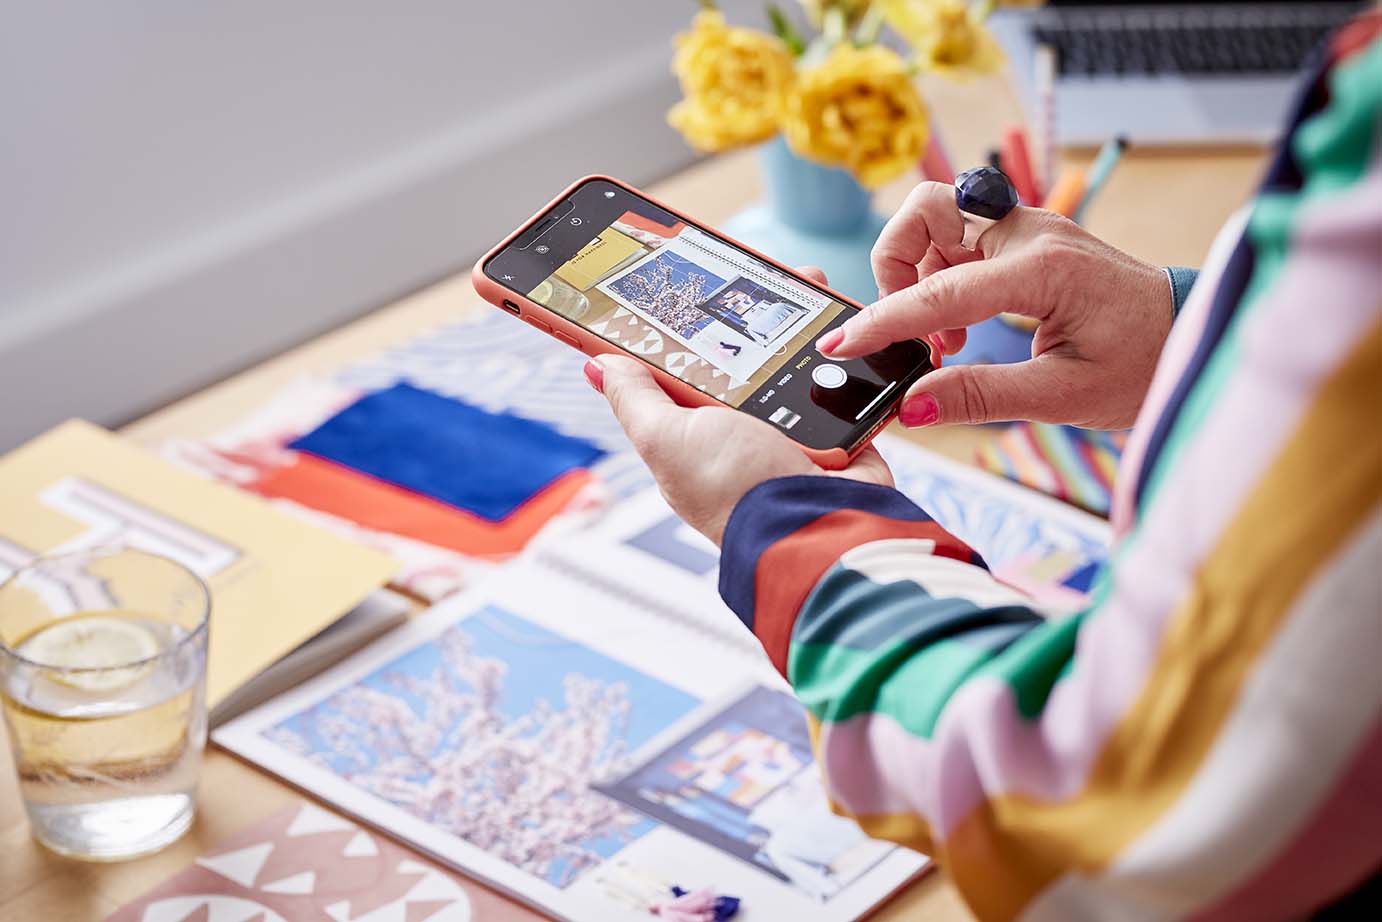
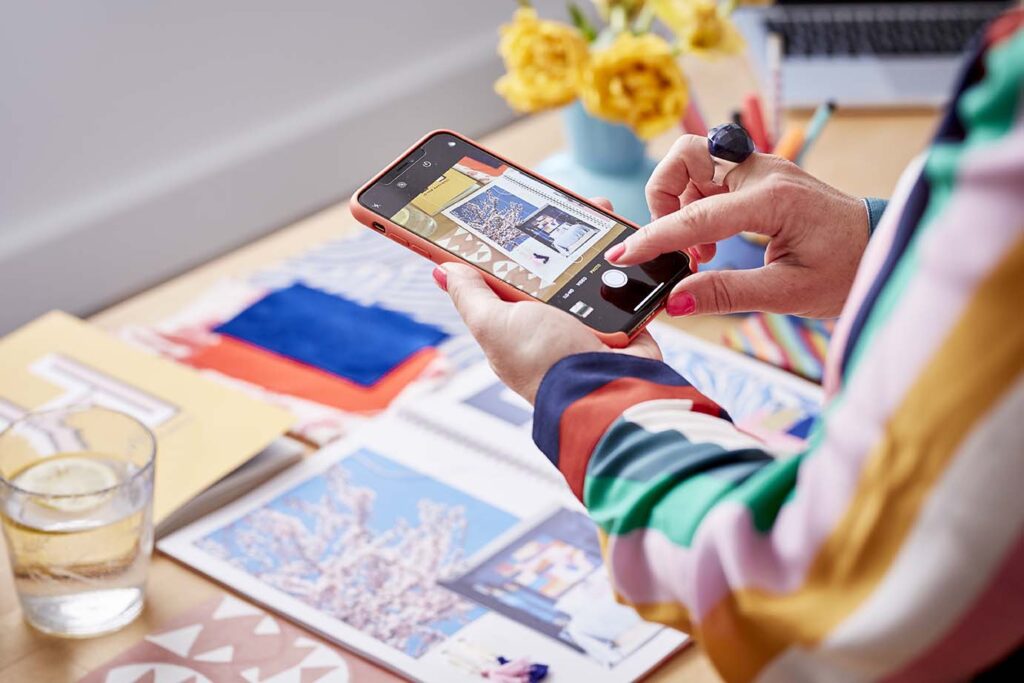
Once you are happy with your mood board, you have a great visual resource that will inform all the design decisions moving forward and help you to check against making any mistakes. For example the colour, material and texture choices you make, should all align with the original mood board. In fact, it’s a good idea to photograph your mood board so you have it as a reference on your phone too, which is really useful when you are out sourcing at the shops or antiques market.
After your initial mood or concept board, you aren’t done! You can then hone the look with another mood board that rather than just representing the concept, feel and mood behind the style of the room, can bring together the actual paint colours, fabrics and materials that you will use to ensure that everything works together. Try and get real life samples – so ring up the sofa company and ask for samples, use tester pots to create your own paint cards, tiles or grout colour chips etc.

A successful mood board will have a pleasing combination of colours, patterns, textures and imagery that all conjures up the feeling you wish to create in your home.
If you already own a few pieces that are staying in the room like artwork or sofa, make sure you include pictures of these too. You can follow my design process in more depth with my brilliant online course Be Your Own Interior Designer, which takes you through this process in far greater depth with lessons on how to use Pinterest effectively, source your samples and discover your original and authentic style through mood boarding. It then goes on to lead you through my entire design process, from initial inspiration to final execution. I also have a very popular mini online course to walk you through the process of creating a digital mood board , which are great if you want to work something up very quickly, or expand upon your physical mood board. But to create a colour scheme that has genuine depth of emotion and authenticity, it’s the real mood board for me every time!
I’d absolutely love to hear about your ideas and tips for creating a successful mood board for a decorating scheme. Its a very personal way to design and I’d like to say there is no right or wrong. Please leave your comments below!
Do you want to discover your style and get confident with colour? My online courses will help you navigate the incredible world of interior design with ease and inspiration. Click here.
